Why Home Charging Changes Everything for Tesla Owners
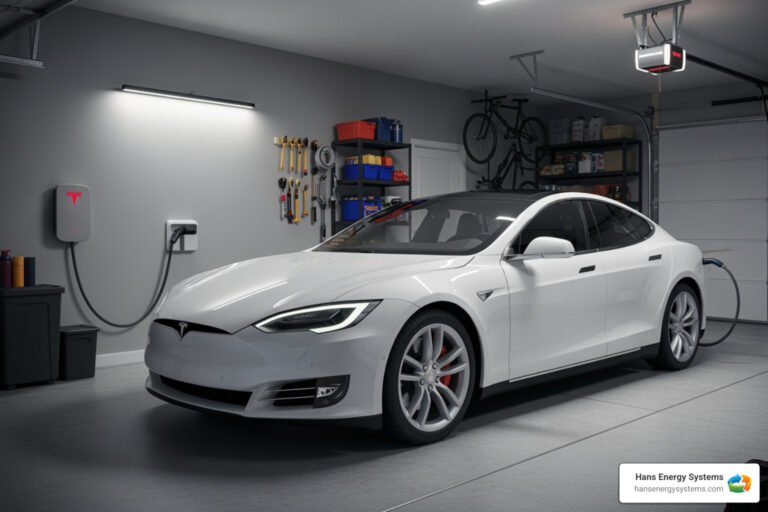
A Tesla wall mount charger installation is key to open uping the full convenience and savings of electric vehicle ownership. Instead of searching for public charging stations or using slow standard outlets, a properly installed Wall Connector transforms your garage into a personal fuel station.
Quick Installation Overview:
- Planning – Calculate electrical capacity and choose location
- Materials – 60A breaker, 6 AWG wire, conduit, and mounting hardware
- Installation – Mount bracket, run conduit, connect wires
- Commissioning – Configure settings via Tesla One app
- Testing – Verify proper operation and charging speeds
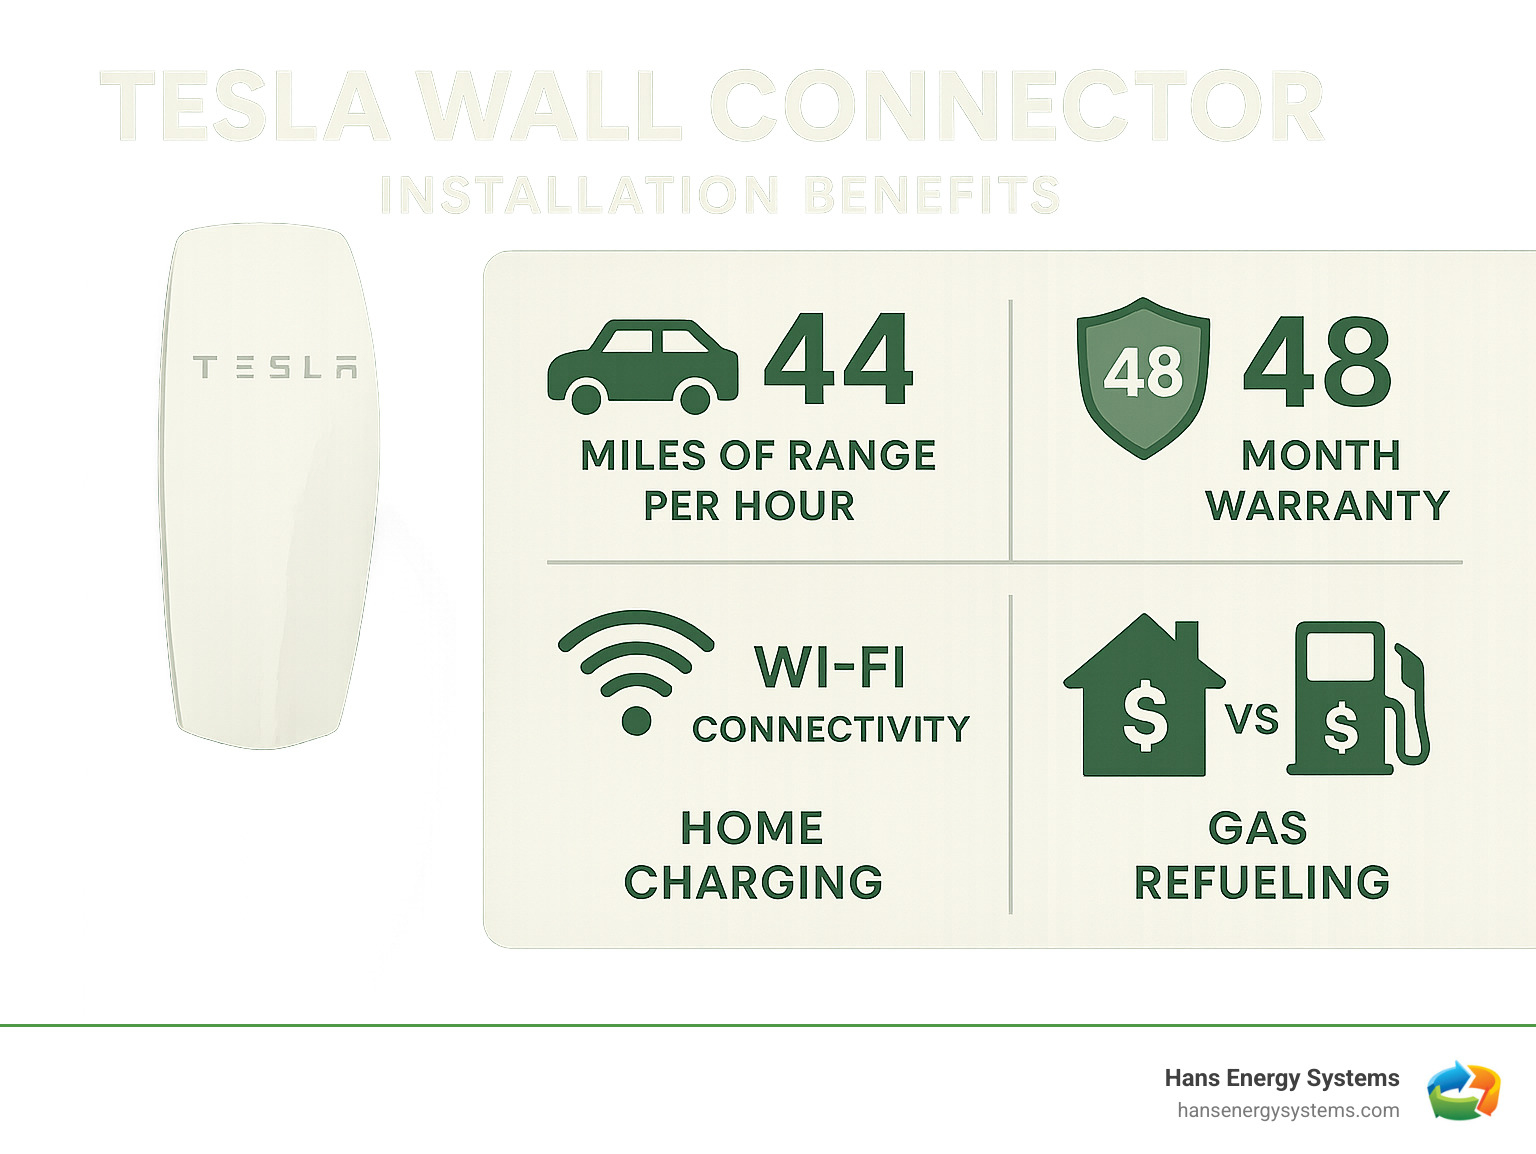
A Tesla Wall Connector delivers up to 44 miles of range per hour of charging, restoring your daily driving needs in just a few hours overnight.
Home charging offers three major advantages over public charging:
- Convenience: Plug in when you arrive home and wake up to a full charge.
- Cost savings: Avoid expensive public charging rates, especially with off-peak electricity pricing.
- Time savings: No more detours or waiting in line at charging stations.
According to Tesla, the Wall Connector provides up to 11.5 kW of power at 48 amps, far faster than the 3-4 miles per hour from a standard household outlet. A proper home charging setup can also increase your home’s value and eliminate the “fuel anxiety” of relying on public infrastructure.
Before You Begin: Planning and Preparation
This section covers everything you need to know and gather before starting the physical installation, ensuring a smooth and safe process.
Key Considerations for Your Tesla Wall Mount Charger Installation
Thoughtful planning for your Tesla wall mount charger installation ensures a smooth process. Let’s review the key decisions for success.
First, choose your charging option. The standard Tesla Wall Connector is designed for Tesla vehicles using the NACS plug type (North American Charging Standard) and is the go-to choice for maximum speed and compatibility.
Tesla also offers a Universal Wall Connector that works with both Tesla and non-Tesla EVs. This is a good option if you plan to own other electric vehicles or want future flexibility.
Next is the critical step of evaluating your electrical panel capacity. The Wall Connector requires a dedicated 240V circuit, and your home’s electrical system must have enough capacity to handle this high-powered load. You’ll need to perform a load calculation, considering your main breaker size and other major appliances. If your panel is at capacity, an upgrade may be necessary before proceeding.
Choosing your installation location requires strategic thinking. Garage placement is most common for convenience and weather protection, but the Wall Connector is built for both indoor and outdoor installation.
When choosing a location, consider its proximity to your electrical panel (shorter wire runs save money) and ensure the charging cable can easily reach your Tesla’s charge port without stretching or creating a tripping hazard.
For those interested in maximizing green energy, you can learn more about charging Tesla with Solar Panels to power your car with sunshine from your own roof.
Sizing Your Circuit and Wiring
Sizing your circuit and wiring correctly is crucial for both performance and safety. The Tesla Wall Connector’s demand of up to 11.5 kW of power at 48 amps requires proper planning.
The National Electrical Code’s 80% rule is vital: continuous loads like EV charging must not exceed 80% of the circuit breaker’s rating. For maximum charging speed (48-amp output), you’ll need a 60A circuit breaker (48A ÷ 0.80 = 60A).
Here is a comparison of your options:
| Circuit Breaker (Amps) | Max Output (Amps) | Wire Gauge (AWG) | Charging Speed (miles/hr) |
|---|---|---|---|
| 60A | 48A | 6 AWG | Up to 44 mph |
| 50A | 40A | 8 AWG | Up to 37 mph |
| 40A | 32A | 8 AWG | Up to 30 mph |
| 30A | 24A | 10 AWG | Up to 22 mph |
| 20A | 16A | 12 AWG | Up to 15 mph |
| 15A | 12A | 14 AWG | Up to 11 mph |
For the fastest charging, a 60A circuit with 48A output is ideal. For this circuit, you’ll typically need 6 AWG copper wire (THHN or Romex). Always double-check the official Tesla installation manual for current specifications.
Also, consider voltage drop, especially for longer wire runs, as it can reduce efficiency.
Tools and Materials for Your Tesla Wall Mount Charger Installation
Gathering all necessary tools and materials before you start your Tesla wall mount charger installation prevents frustrating delays.
Your essential tool collection should include T10 and T20 Torx screwdrivers, wire strippers, a level, and a drill. For the electrical work, a conduit bender, fish tape, and a voltage tester are necessary.
The materials list includes a 2-pole circuit breaker (sized for your chosen amperage), copper wire (THHN or Romex), and appropriate conduit (EMT, FMC, or PVC). You’ll also need conduit fittings and wall anchors suitable for your mounting surface. For brick or concrete, a plywood baseplate can simplify the installation.
Having wire lubricant and electrical tape on hand will also save you frustration. Gathering everything beforehand ensures a smooth, professional installation.
Step-by-Step Tesla Wall Mount Charger Installation
Now for the actual Tesla wall mount charger installation. After careful planning, you’re ready to transform your garage into a personal charging station. We’ll walk through each step to ensure you can complete the project safely and confidently.
Step 1: Safety First and Mounting the Bracket
Safety is the most important part of any electrical project. Always turn off the main breaker to your home’s electrical panel before beginning work. This is not a suggestion; it’s critical for your safety.
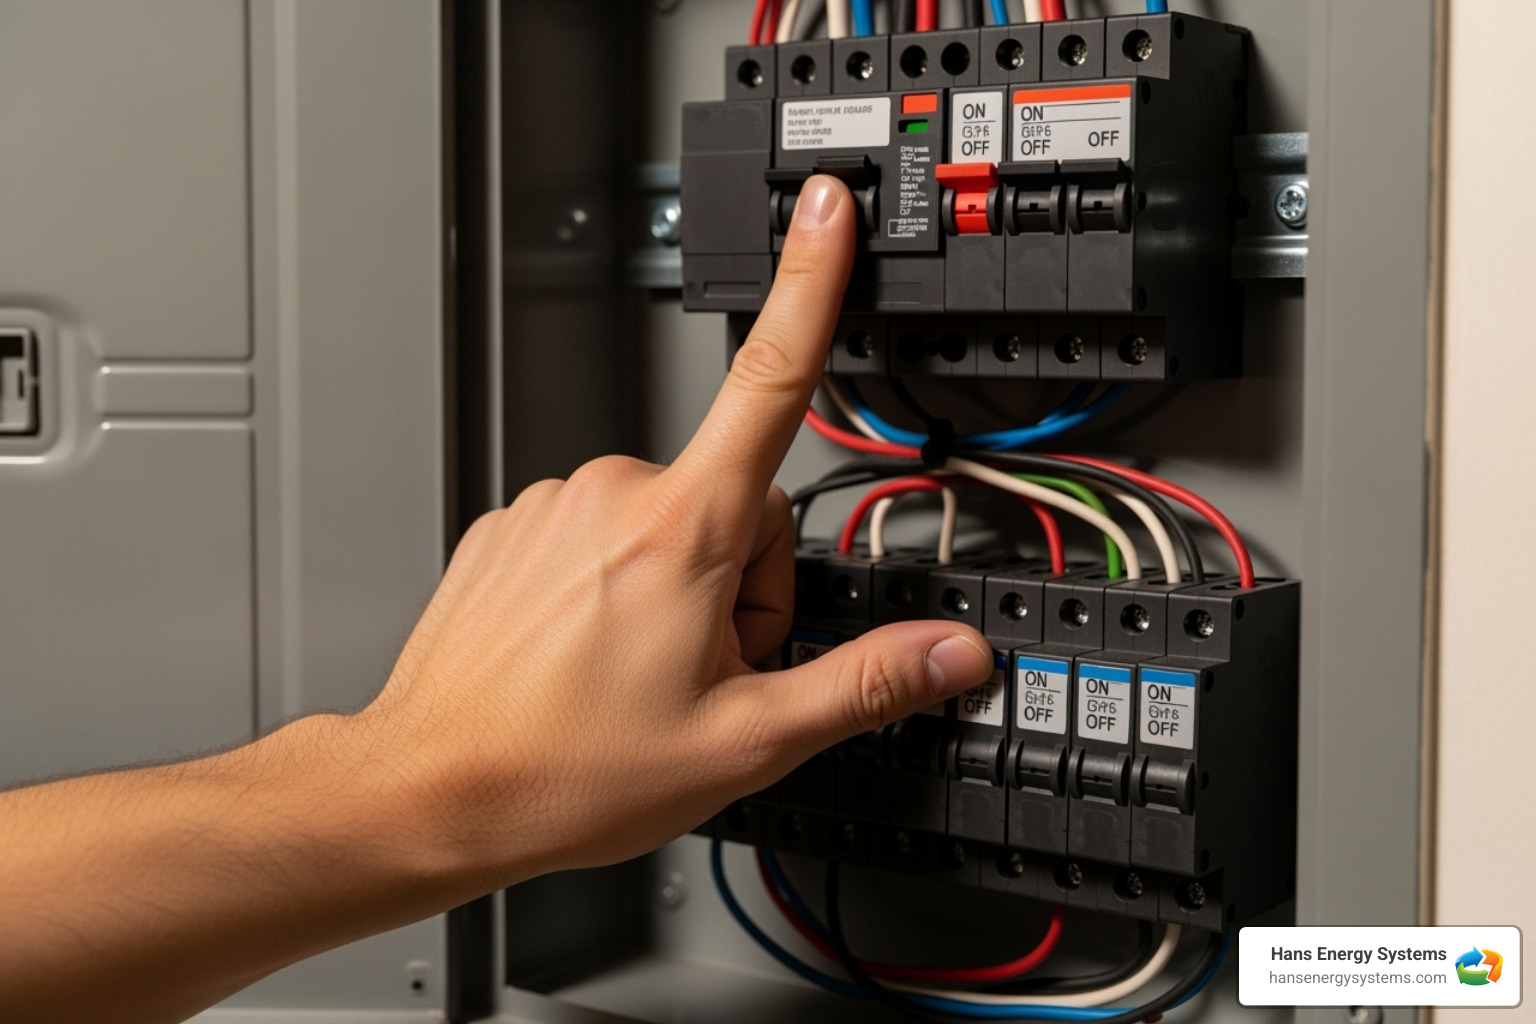
Once the main breaker is off, use a voltage tester or multimeter to verify that power is off at the panel where you’ll install the new breaker. This extra verification step is a potential lifesaver.
With power off, you can mount the Wall Connector bracket. Tesla recommends a mounting height of about 4 feet above the floor, which keeps the cable off the ground and easy to reach. The mounting process is straightforward, but precision is key. Use a level to ensure the bracket is perfectly straight before marking your drill holes. If working with drywall, use a stud finder to locate a solid stud for a secure mount.
For brick or concrete walls, consider installing a plywood baseplate first. This provides a solid, flat surface and makes installation easier. Use appropriate concrete anchors to secure the plywood, then mount the bracket to it for a stable, professional finish.
Step 2: Running Conduit and Pulling Wires
Next, create the electrical pathway from your panel to the Wall Connector. The conduit run should be as smooth and direct as possible. EMT (Electrical Metallic Tubing) is great for most interior installations, while flexible or PVC conduit can be used for navigating obstacles or for outdoor runs.
Make smooth, gradual bends when bending conduit to make wire pulling easier. Securing the conduit with straps every few feet is required by code and ensures a professional finish.
Now, pull the wires using fish tape and wire lubricant. You’ll be pulling three wires: L1, L2, and ground. If using same-colored THHN wire, color-coding with electrical tape (e.g., red for L2, green for ground) is a lifesaver for organization. Wire lubricant is especially helpful for longer runs or navigating multiple bends.
Step 3: Wiring the Wall Connector and Breaker Panel
Now it’s time to make the electrical connections that will power your Tesla.
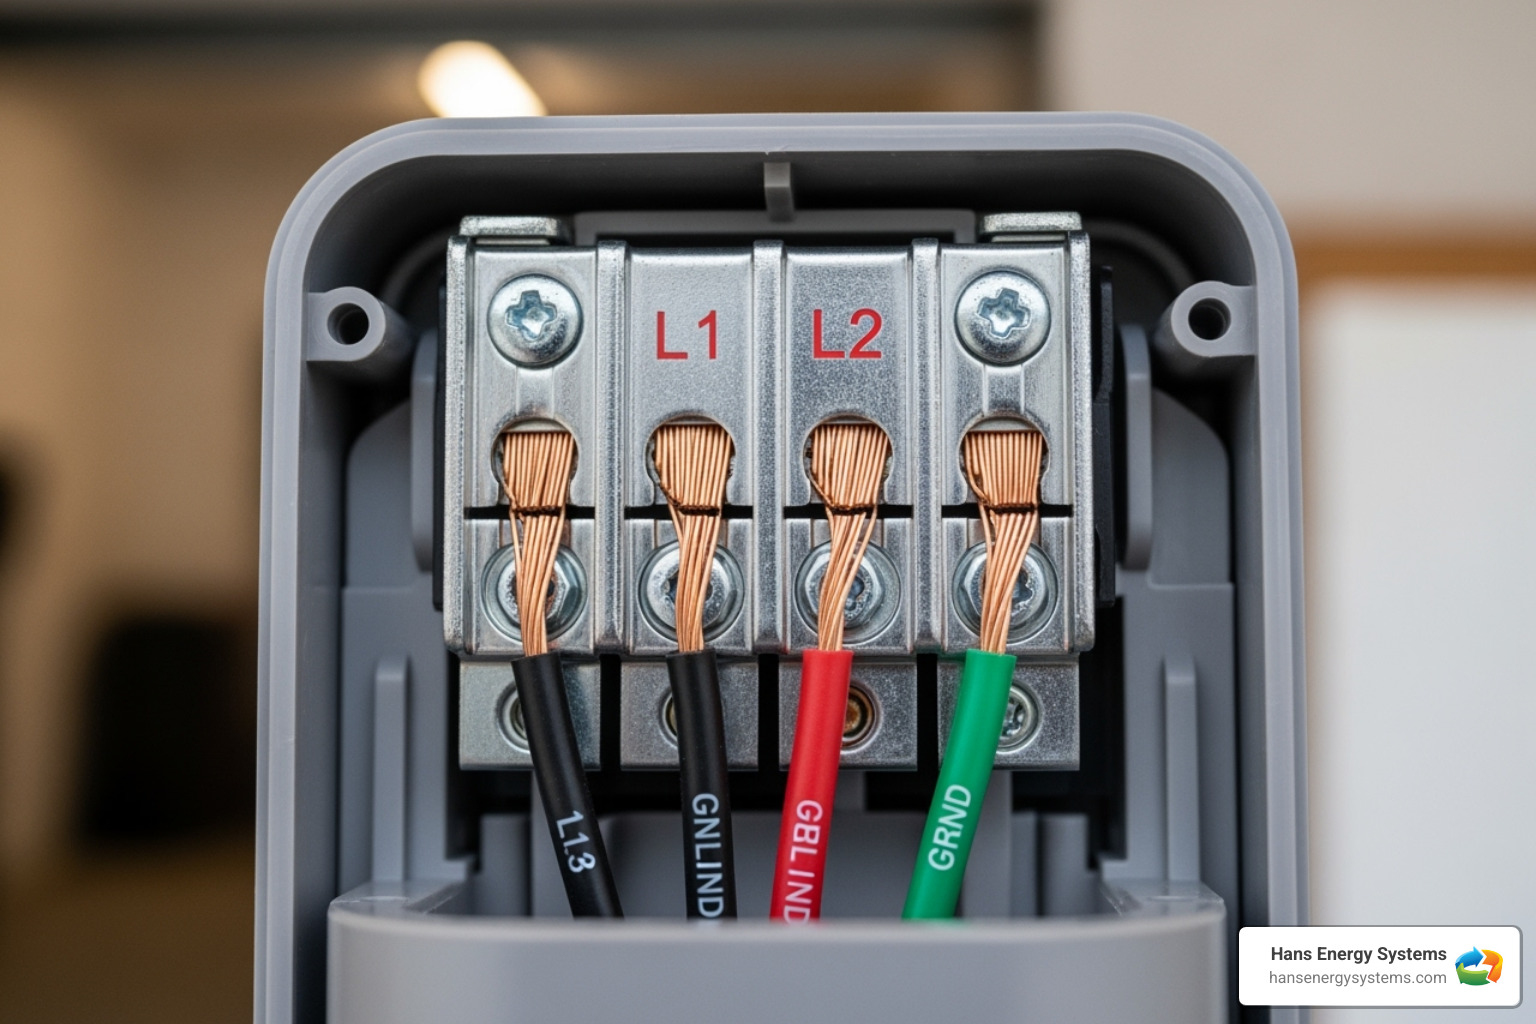
First, connect the wires to the Wall Connector terminals. Strip about 3/4 inch of insulation from each wire. Connect the L1 and L2 wires to their respective terminals and the ground wire to its dedicated terminal. A torque wrench is essential here. Torquing screws to the 33 in-lb spec for the phase terminals ensures a secure, safe connection, preventing arcing, heat buildup, and other dangers.
At the breaker panel, connect the wires to your new 2-pole breaker. Each hot wire (L1 and L2) connects to one side of the breaker. The ground wire connects to the ground bar in your panel. Organizing wires in the panel neatly is important for safety and makes future work easier. Route wires along the panel edges and avoid crossing other circuits where possible.
Commissioning, Setup, and Advanced Features
With the physical Tesla wall mount charger installation complete, it’s time to bring your Wall Connector to life and explore its smart features.
Commissioning and Connecting to Wi-Fi
After double-checking your wiring, restore power by flipping the main breaker back on, then activating the new 2-pole breaker for your Wall Connector. The indicator lights should illuminate.
The commissioning process configures your Wall Connector for your specific electrical setup. During this initial phase, the Wall Connector creates its own Wi-Fi hotspot for your mobile device to connect to.
Download the Tesla One app, which will guide you through commissioning. You can scan the QR code on the installation Quickstart Guide for quick access.
During commissioning, you will set the breaker size to tell the Wall Connector how much current it can safely draw. You will also configure the output amperage to fine-tune the charging current based on your panel’s capacity.
After setup in the Tesla One app, residential customers can switch to the main Tesla app. Your Wall Connector will connect to your home’s Wi-Fi, enabling automatic over-the-air firmware updates so you always have the latest features. For detailed guidance, Tesla provides instructions on how to complete the setup after the Set-up is complete in the Tesla One app.
Using the Tesla App and Power Management
Registering your Wall Connector in the Tesla app open ups a world of convenience and control, changing your charger into a sophisticated energy management system.
One of the most valuable features is viewing detailed charging stats and history. You can track energy use, monitor charging speeds, and see how your driving habits affect energy consumption.
The scheduling feature is a great money-saver. You can set your Wall Connector to charge during off-peak hours when electricity rates are lower, potentially saving hundreds of dollars annually.
For households with multiple EVs, the clever Power Management feature allows multiple Wall Connectors to communicate and intelligently share power from a single circuit. This prevents overloads and ensures both vehicles charge efficiently.
The Access Control feature provides peace of mind by restricting charging to authorized Tesla vehicles, which is useful in multi-car households.
To take your energy independence further, especially with solar panels, you can combine your charger with battery storage. This maximizes your solar investment by allowing you to charge with stored energy after dark. You can Learn about Energy Storage Solutions for Solar Systems to see how these technologies work together.
DIY vs. Hiring a Professional
Deciding between a DIY Tesla wall mount charger installation and hiring a professional depends on your skills, time, and comfort level with electrical work.
The True Cost of Installation
The “cost” of installation isn’t just financial; it’s an investment of time, energy, and peace of mind.
The DIY route requires purchasing all materials yourself. Wire cost per foot, breaker cost, conduit, and fittings can add up. The main “cost” of DIY, however, is the time investment. Researching local codes, making multiple trips to the hardware store, and performing the work can turn a weekend project into a much longer endeavor.
Professional installation cost range varies by location and job complexity but includes the electrician’s expertise, tools, and often covers required permit fees. Many homeowners find the peace of mind makes the professional route a worthwhile investment.
When to Call a Certified Electrician
While a DIY Tesla wall mount charger installation can be rewarding, there are clear situations where calling a professional is essential.
- Lack of electrical experience is the biggest red flag. Working with 240-volt circuits is dangerous, and this isn’t a project for beginners to high-voltage systems.
- Complex wire runs, such as those through concrete or across a house, can quickly become complicated and are best handled by an expert.
- Main panel upgrades needed situations strictly require a licensed electrician. If your current panel lacks capacity or is outdated, this is professional territory.
- Local code requirements can be tricky. A certified electrician knows these codes and ensures your installation passes inspection.
- Peace of mind is often the deciding factor. Knowing a professional handled every aspect, from permits to testing, lets you enjoy your charger worry-free.
At Hans Energy Systems, our certified experts have handled countless Tesla Wall Connector installations in San Diego County. We understand local codes and can complete the job efficiently and safely. Our Hans Energy Systems professional services ensure your Tesla wall mount charger installation is done right the first time.
Frequently Asked Questions
What is the warranty on a Tesla Wall Connector?
Your Tesla wall mount charger installation includes a solid warranty. For normal residential use, Tesla provides a comprehensive 48-month warranty from the invoice date. That’s four years of coverage for your home charging setup.
For commercial installations, the warranty period is 12 months from the invoice date. This coverage provides peace of mind and protects your investment.
How does the Wall Connector get firmware updates?
One of the Wall Connector’s smartest features is its ability to stay current automatically. Once connected to your home’s Wi-Fi during commissioning, your Wall Connector automatically receives over-the-air firmware updates.
This means Tesla can continuously improve performance, add features, and fix bugs without any effort on your part. The updates happen in the background, ensuring you always have the latest functionality. Manual offline updates are also an option if Wi-Fi is unavailable.
What are the most common installation troubleshooting steps?
Even with careful planning, issues can arise during a Tesla wall mount charger installation. Most are straightforward to resolve.
- A frequent problem is incorrect breaker settings during commissioning. In the Tesla One app, double-check that you’ve entered the correct breaker size to ensure the charger draws the proper amount of power.
- Loose wire connections are another common culprit. Connections at the breaker or Wall Connector that aren’t properly torqued can cause serious issues, which is why using a torque wrench to the manufacturer’s spec is critical.
- Wi-Fi connectivity problems can occur during setup. Try moving closer to your router if you have trouble connecting.
The Wall Connector’s diagnostic lights are your best friend for troubleshooting. These lights provide valuable clues, so consult the manual’s diagnostic light guide to understand what they mean. If you’re uncomfortable troubleshooting electrical issues, call a professional. An experienced electrician can spot the problem quickly and get you charging safely.
Your Fully Charged Future Awaits
A Tesla wall mount charger installation is more than just an upgrade; it’s an accept of a lifestyle defined by convenience, savings, and energy independence. You’ll wake up each morning to a fully charged vehicle, eliminating detours to public stations and range anxiety.
Your garage becomes a personal fuel station, delivering up to 44 miles of range per hour. The savings accumulate quickly, especially when using off-peak electricity rates or pairing your charger with solar panels for sustainable transport.
Whether you choose a DIY project or hire a professional, a safe, code-compliant installation is paramount. A properly installed Wall Connector is a reliable, long-term investment, backed by Tesla’s 48-month residential warranty and automatic firmware updates.
For homeowners in San Diego County seeking the peace of mind of a professional installation, our certified experts at Hans Energy Systems are ready to assist. We specialize in flawless, code-compliant installations that meet the highest safety standards.
Your fully charged future is one installation away. The convenience and savings of home charging are transformative. Get a professional quote for your Tesla Wall Charger Installation in Poway, CA and take the next step toward effortless EV ownership.


